Your smkcloud.com account is the gateway to managing your cloud services, billing, and support. In this guide, we’ll walk you through creating your account and exploring the dashboard so you can confidently manage everything from one place.
Step 1: Go to the SMKCloud Website
Visit smkcloud.tech and click on the Login / Register button at the top right corner.

Step 2: Click on “signup”
If you’re a new customer, click the Register button. This will take you to the account creation form.

Step 3: Fill in Your Details
Enter your Full Name, Email Address, Phone Number, and Password.
✅ Use an active email — all service updates and invoices will be sent here.
✅ Choose a strong password to secure your account.

Step 4: Accept the Terms & Submit
Tick the box to agree with our Terms of Service and Privacy Policy. Then click Register to complete the signup process.

Step 5: Login to Your Account
Once registered, enter your email and password on the login page and click Login.

Step 6: Welcome to Your Dashboard
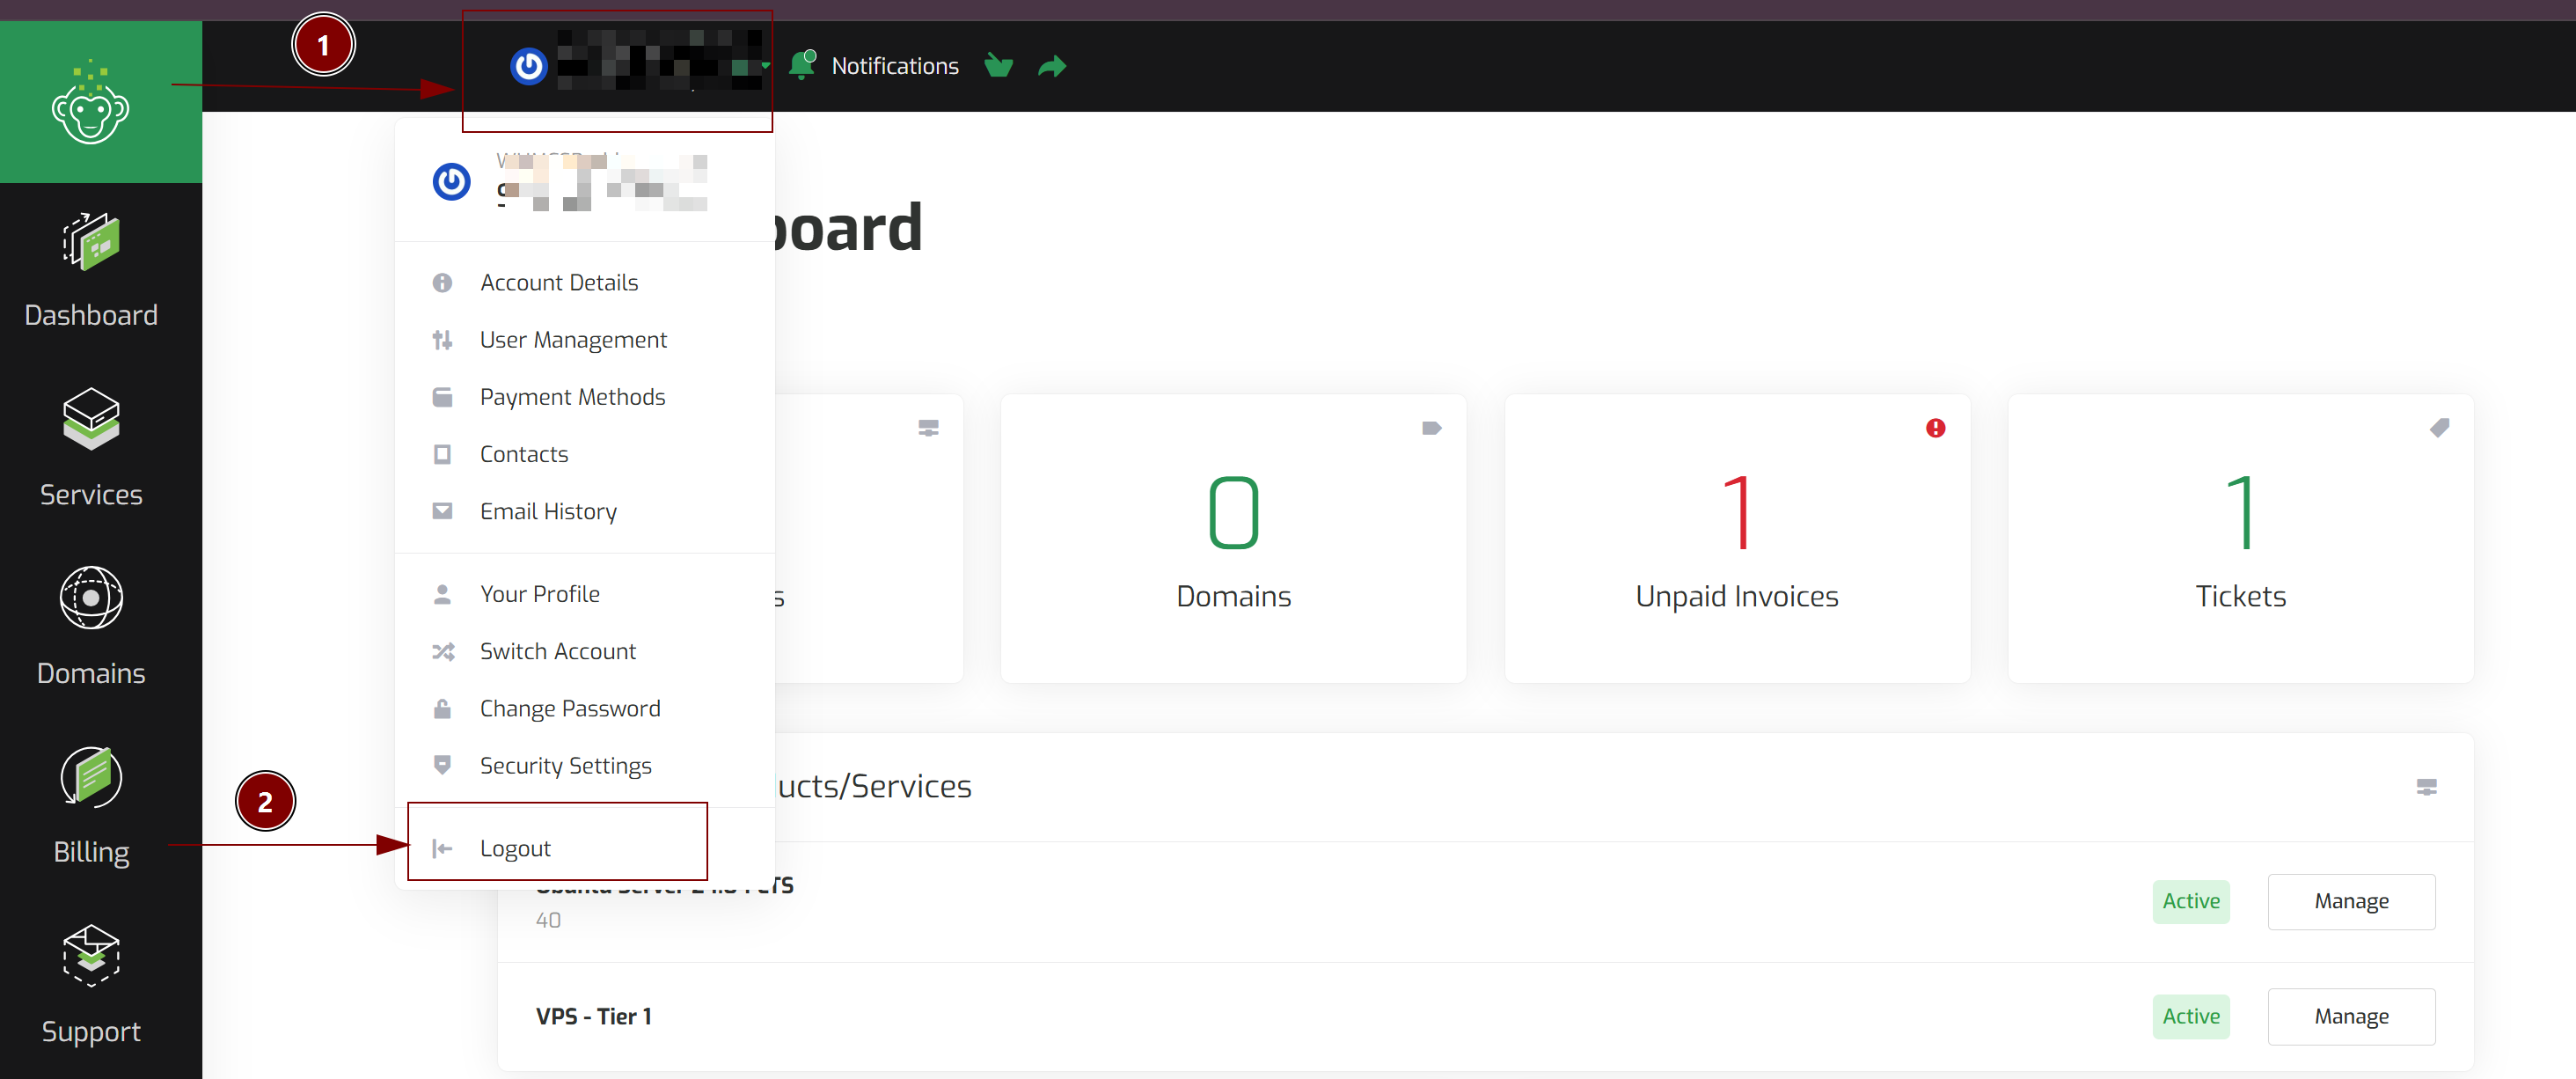
After logging in, you’ll see the Dashboard — your central hub for managing services, invoices, support, and account settings.
From here, you can:
-
View active services
-
Check due invoices
-
Submit support tickets
-
Manage account details

Step 7: Navigating the Dashboard Menu
On the left-hand side (or top menu, depending on your device), you’ll see main sections:
-
Home/Dashboard – Overview of your account
-
Services – View, manage, and order new services
-
Billing – Check invoices and make payments
-
Support – Get help from our team
-
Account Settings – Update personal details and security

Step 8: Viewing Product Details
When you click on a specific service under Services, you’ll be taken to the Product Details page.
Here, you can:
-
See your service status and plan details
-
Access configuration options
-
View renewal date and pricing
-
Perform service management actions

Step 9: Logout Securely
When you finish, click Logout from the account menu to ensure your account remains safe.

Conclusion
That’s it! You’ve successfully created your SMKCloud account and learned how to navigate the dashboard. This is your control center for everything — from service setup to billing and support.


